All platform sizes · No signup · Free
Resize Images for Instagram, Amazon, and Shopify Without Quality Loss
I spent two hours manually resizing product photos for an Amazon listing — multiple size variants per image, multiple angles — and this tool processed the same batch for a second product in about seven minutes by handling all size variants at once. Below are the practical techniques for each platform, including what each one actually requires and what trips people up.
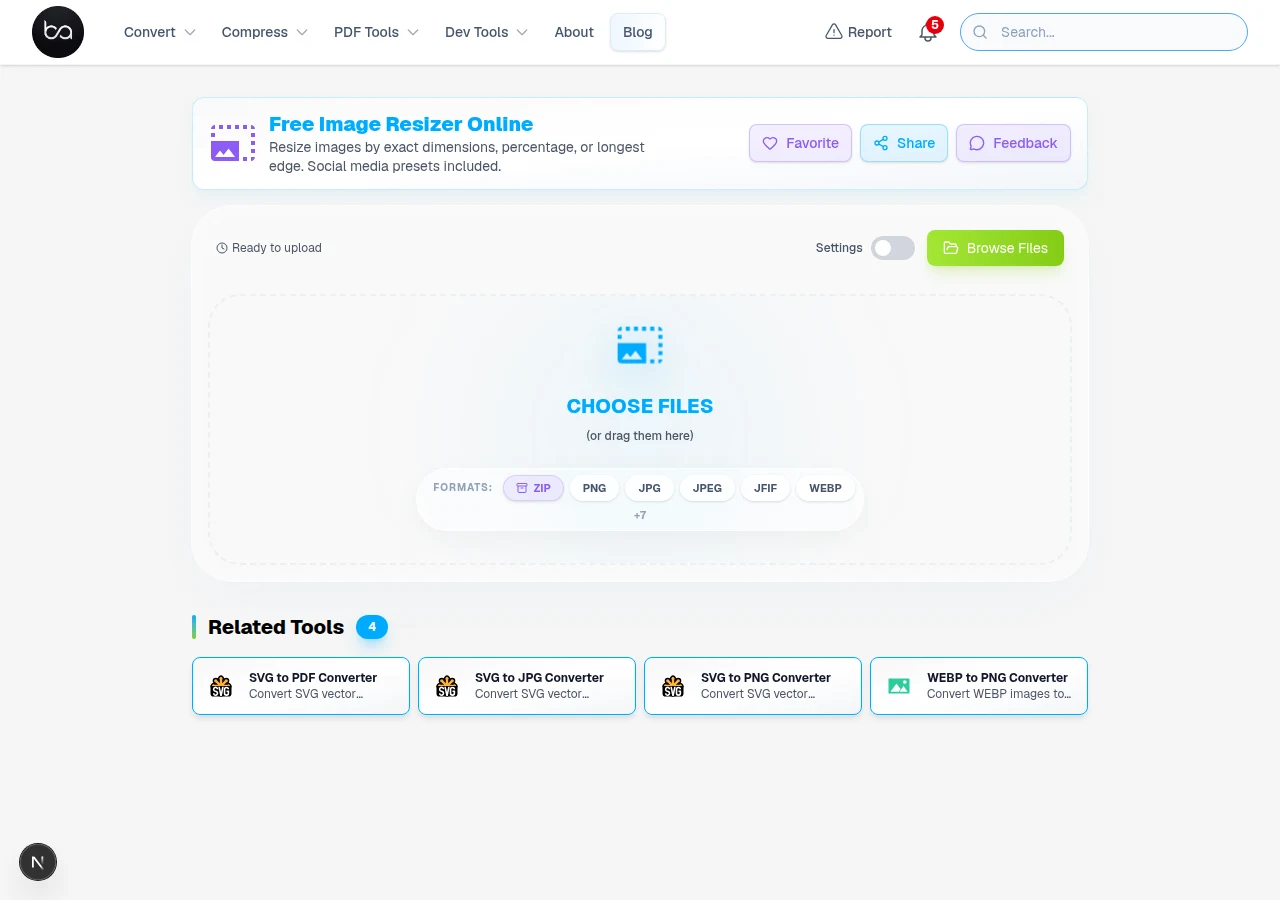
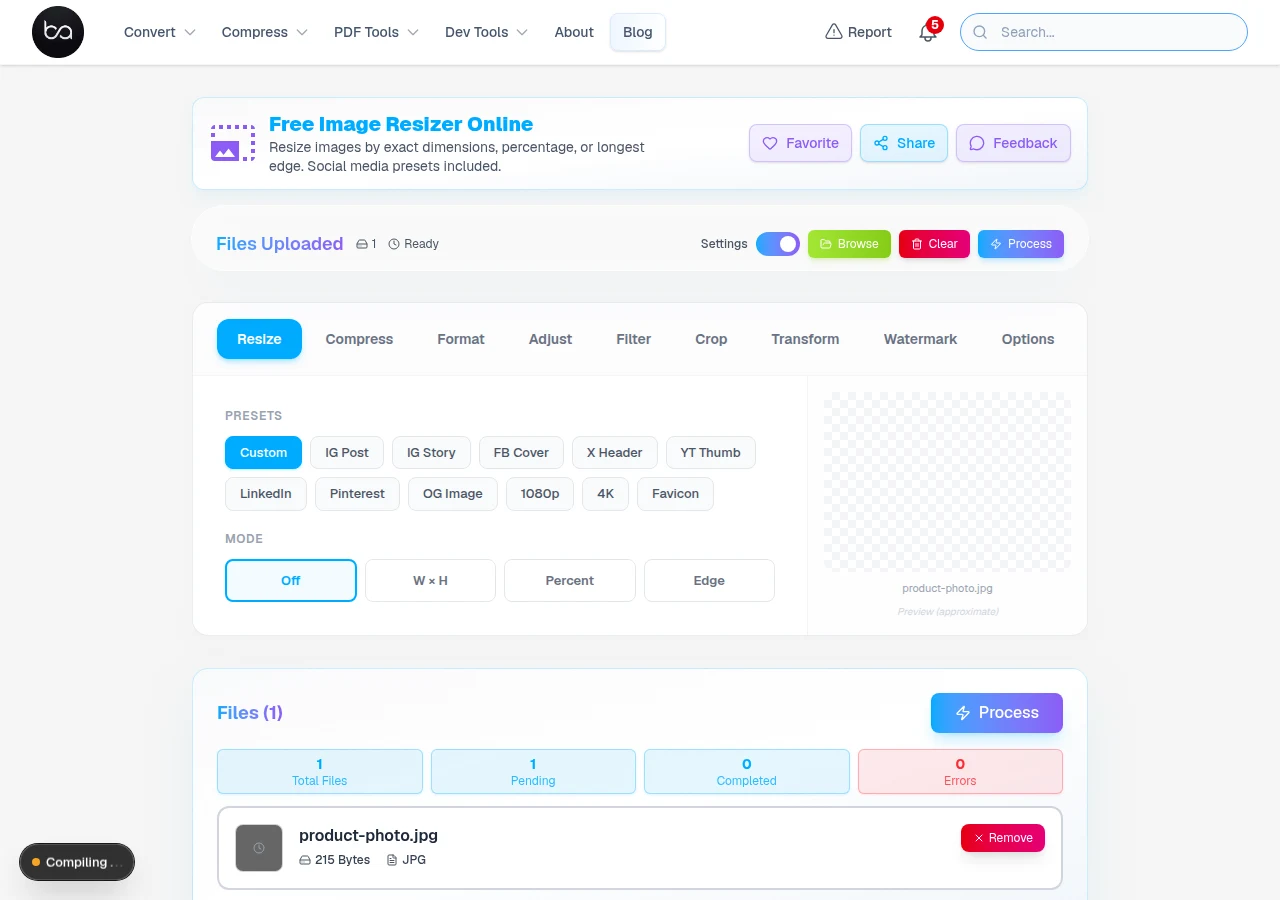
Platform-specific size requirements change often, so the presets save time on the lookup. Below are the practical details on what each platform wants and what to watch for when downsizing images for product listings.
Image Resizing: What Actually Matters for Quality
Resized images → PDF
After resizing, convert your images into a professional PDF document for portfolios, print submissions, or reports.
JPG to PDF →Resizing a photo always involves some trade-offs. When you scale down, the tool has to decide which pixels to keep and how to blend edges. For most product photos and social media images, the visual difference is small enough you won't notice it in a final JPEG. Where it matters more is with text, logos, or line art where you need clean edges rather than smooth gradients.
Downscaling generally works better than upscaling. If you're starting from a high-resolution photo and need a smaller version, you'll get a clean result. If you're trying to make a low-resolution image bigger, the result depends heavily on the original quality — interpolation can only estimate what the new pixels should look like.
Keep the original file and work from that each time. Resizing a file that was already resized degrades quality faster than resizing once from a high-quality source.
For most platform uploads, JPEG quality around 80–90 is the practical sweet spot. Below that, visible compression artifacts start appearing in product photos — especially in flat backgrounds, which show JPEG artifacts more than textured subjects do.
Platform-Specific Image Requirements
Each platform has its own required or recommended dimensions, and using the right size matters: too small and the platform upscales your image (adding blur), too large and it compresses more aggressively than necessary. Instagram posts display at 1080×1080px for square format; stories and reels at 1080×1920px. Facebook covers are 820×312px on desktop but crop differently on mobile, so center your key content.
Amazon requires main product images to be at least 1000px on the longest side to enable the zoom feature — anything smaller disables zoom. White background is required for the main image but not secondary ones. Shopify recommends 2048×2048px for product images so they look sharp on high-DPI screens; the platform scales down automatically but won't scale up.
Getting dimensions right mostly comes down to checking the current spec for each platform before uploading. These requirements do change occasionally — Instagram has adjusted recommended sizes several times over the years. The presets in the tool reflect current recommended values, so using them is quicker than looking them up each time.
| Platform | Optimal Dimensions | File Size Limit | Aspect Ratio |
|---|---|---|---|
| Instagram Post | 1080x1080px | 30MB | 1:1 square |
| Instagram Story | 1080x1920px | 30MB | 9:16 vertical |
| Amazon Product | 2000x2000px | 10MB | 1:1 square |
| Shopify Product | 2048x2048px | 20MB | 1:1 square |
| Facebook Cover | 820x312px | 100KB | 2.63:1 landscape |
| YouTube Thumbnail | 1280x720px | 2MB | 16:9 landscape |
Tips for Getting Better Resize Results
Need to convert your resized image format?
Convert HEIC, WebP, SVG and more to JPG or PNG with full transparency and quality control.
For photos: downscale rather than upscale when possible. Reducing a 3000px image to 1080px gives you a clean result. Enlarging a 400px image to 1080px will look soft no matter what — there isn't enough original detail to fill the larger size.
For logos and graphics: they often have sharp edges and flat colors, which can look a bit softer after downscaling. If the result looks fuzzy, try slightly sharpening the output before the final upload.
When batch-resizing product images, run through a few representative samples first and check them at 100% zoom before processing the whole batch. It's faster to catch a settings issue before processing 80 images than after.
Keep the aspect ratio locked unless the platform specifically requires a different shape. Stretching a photo to fit a square by unlocking the ratio distorts it — better to crop first, then resize.
- Work from the original file, not a previously resized version
- Lock the aspect ratio to prevent stretching
- Check the output at 100% before batch processing
- Use JPEG quality 80–90 for product photos — most platforms compress on upload anyway
- PNG for logos and screenshots where you need crisp edges
- Match the exact required dimensions rather than "close enough" to avoid platform cropping
How Long Does Resizing Take?
For typical social media and product photos, the tool processes each image in seconds. The actual time depends on your file size and your device. A batch of 20 product photos at standard camera resolution usually takes under a minute total.
Very large files (50MB+ RAW exports, panoramas) can take longer. If the browser slows down on a big batch, try processing in smaller groups or close other tabs to free memory.
PNG files take a bit longer to process than JPEG because lossless compression is computationally heavier. For batch jobs where speed matters, JPEG is the faster output format if you don't need transparency.
| Image Type | Typical Speed | Notes |
|---|---|---|
| Standard phone photo (12MP) | Seconds | Fastest common case |
| High-res DSLR (24MP+) | A few seconds | Still fast |
| Large RAW export or panorama | Several seconds to a minute | Close other tabs to help |
When the Resized Image Doesn't Look Right
If the output looks blurry, the most likely cause is upscaling from too small a source. Check what resolution you're starting from — if the original is 400×300px and you're targeting 1200×900px, the tool can't invent the missing detail.
If colors look wrong, check whether your source was in a different color profile (Adobe RGB, for example). Most web platforms expect sRGB. Converting to sRGB before uploading fixes color shift issues on most platforms.
If the output is the wrong shape (squished or stretched), make sure the aspect ratio lock is on, or that you set both dimensions to match the correct ratio for your target use.
- Verify the source image is high enough resolution for the target size before resizing
- Keep the aspect ratio locked to avoid distortion
- Convert to sRGB if colors look off on specific platforms
- Close other browser tabs if performance is slow on large batches
- Check the output at 100% zoom before finalizing
Common Uses by Industry
E-commerce sellers typically need the same product image in several variants: a large version for zoom (2000px+), a medium for product pages (800–1000px), and a thumbnail for category grids (400px). Processing from one high-res source each time gives consistent results across all sizes.
Social media managers create platform-specific versions from a single campaign image. Rather than cropping and resizing inside each platform's upload interface, preparing the correct sizes in advance gives you full control over what gets cropped and how it looks.
Print providers need images at 300 DPI for their output size. A business card at 85×55mm at 300 DPI requires an image of about 1004×650px. If you're supplying an image in pixels to a printer, work out the required dimensions from their DPI spec before resizing.
Web developers building responsive image systems need multiple size variants to serve appropriately sized images to different screen sizes. Resizing a set of source images to small, medium, and large variants is straightforward to batch in one pass.
Memory overflow errors occur when processing large images or batch operations exceed available system resources. Close other browser tabs to free memory if you run into issues with large files.
Chrome and Firefox work best for this tool. Safari works for most files. If a batch stalls, try a smaller group first.
Color profile inconsistencies cause unexpected color shifts. If colors look off after resizing, check whether your source file was saved in Adobe RGB rather than sRGB — most web platforms expect sRGB.
If a file fails to process, make sure it's a supported format (JPG, PNG, WebP, HEIC). Verify the file opens normally in another application before trying again.
- Check the source resolution is sufficient for the target size
- Keep aspect ratio locked to prevent stretching
- Convert to sRGB if colors look wrong on specific platforms
- Close other tabs if the browser slows on large batches
- Verify the file opens in another app if it fails to process
Frequently Asked Questions
What is the best way to resize photos without losing quality?
Start from the highest-resolution original you have, and only downscale rather than upscale. Keep the aspect ratio locked. For JPEG output, quality 80–90 is the sweet spot — good quality without unnecessary file size.
How much can I enlarge an image before it looks bad?
It depends on the original resolution. A 2000px image can be enlarged to 3000px without obvious quality loss. A 400px image will look blurry at 1200px no matter what — there simply isn't enough original detail to fill that size.
What dimensions does Instagram require?
Square posts: 1080×1080px. Portrait: 1080×1350px. Landscape: 1080×566px. Stories and Reels: 1080×1920px. The tool's Instagram presets set these automatically.
Why do my resized images look blurry?
Usually because the source wasn't large enough for the target size. Check the original resolution — if it's smaller than the output target, the tool has to upscale, which always softens the result. Work from the largest available version.
Can I resize a batch of images at once?
Yes. Drop multiple files in and set the target size once — all files process to the same dimensions. For very large batches or high-resolution source files, give the browser a moment between batches if it slows down.
Need to crop out unwanted areas?
Use the PDF crop tool to trim margins and whitespace from image-to-PDF documents after converting.
Related Articles
Convert iPhone MOV Clips to GIF Instantly
Convert iPhone MOV videos to GIF animations with custom FPS, compression, and trimming. Preserve smooth motion in small files. Works in browser, no upload required.
Read article
Convert SVG to PNG Export at 1x, 2x, and 3x for Web - Free Online Tool
Convert SVG vector graphics to PNG images with custom dimensions and transparent backgrounds. Perfect for web development, responsive design, and high-DPI displays. No signup required.
Read articleConvert WebP to JPG Fix Images That Won't Open
Convert WebP images to JPG format for universal compatibility. Fix images that won't open in older software. Free online converter with background removal.
Read article